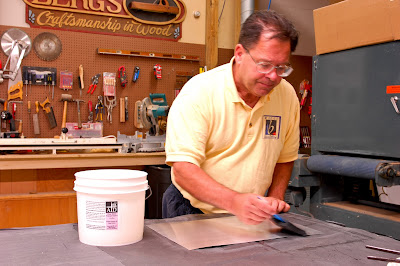
We have been getting many requests of late for demonstrations of metal printing. So many in fact we have added it to our canvas printing and mounting workshop. This is a quick once over but will give you an idea of what we cover in depth here at the studio. When I started metal printing I purchased several 17" X 22" aluminum sheets from Book Smart Studio in Rochester, NY. excellent material although about $45.00 a sheet. I needed another alternative metal and started my search at my local roofing suppliers. On my first stop I was shown a roll of 12" X 32' of aluminum sheet metal roof flashing. This flashing does not have any protective finish applied and fit the bill perfectly. Cost about .75 a square foot. Thats less then most of the paper I print with. The first thing I did after getting it in the shop was to measure the thickness. At .23in. it is comfortably less then the .30in. max material thickness limit on my Epson 7900 and 9900. With a straight edge and utility knive I scored and broke off a 12" X 18 piece. I have a small file which works really nice to remove the sharp edge and burr. After thoroughly cleaning and a light buffing with 0000 steel wool we are ready to apply the receptor coating with a foam brush. We use 2 coats of Inkaid and it takes a full 8 to 12 hours to dry between coats. After the second coat its ready to print. In this case I did the top sheet load on my Epson 7900. I set the borders in Lightroom to 1/2" which gives me a nice 11" X 17" print. The image I used here is from one of the overlooks at Bryce Canyon, Ut. I did not spray this print with a uv and moisture protectant but several quick coats of Clearstar would do the trick. I have Solux lighting in my gallery and these metal prints just glow when lit properly! To learn more sign up for one of our "One On One" printing and mounting workshops.
Scoring a 12" x 18" sheet from the roll.
Applying print receptor coating Inkaid with foam brush.

Finished metal print ready to mount.


